Clove hitch - A Staple For Construction
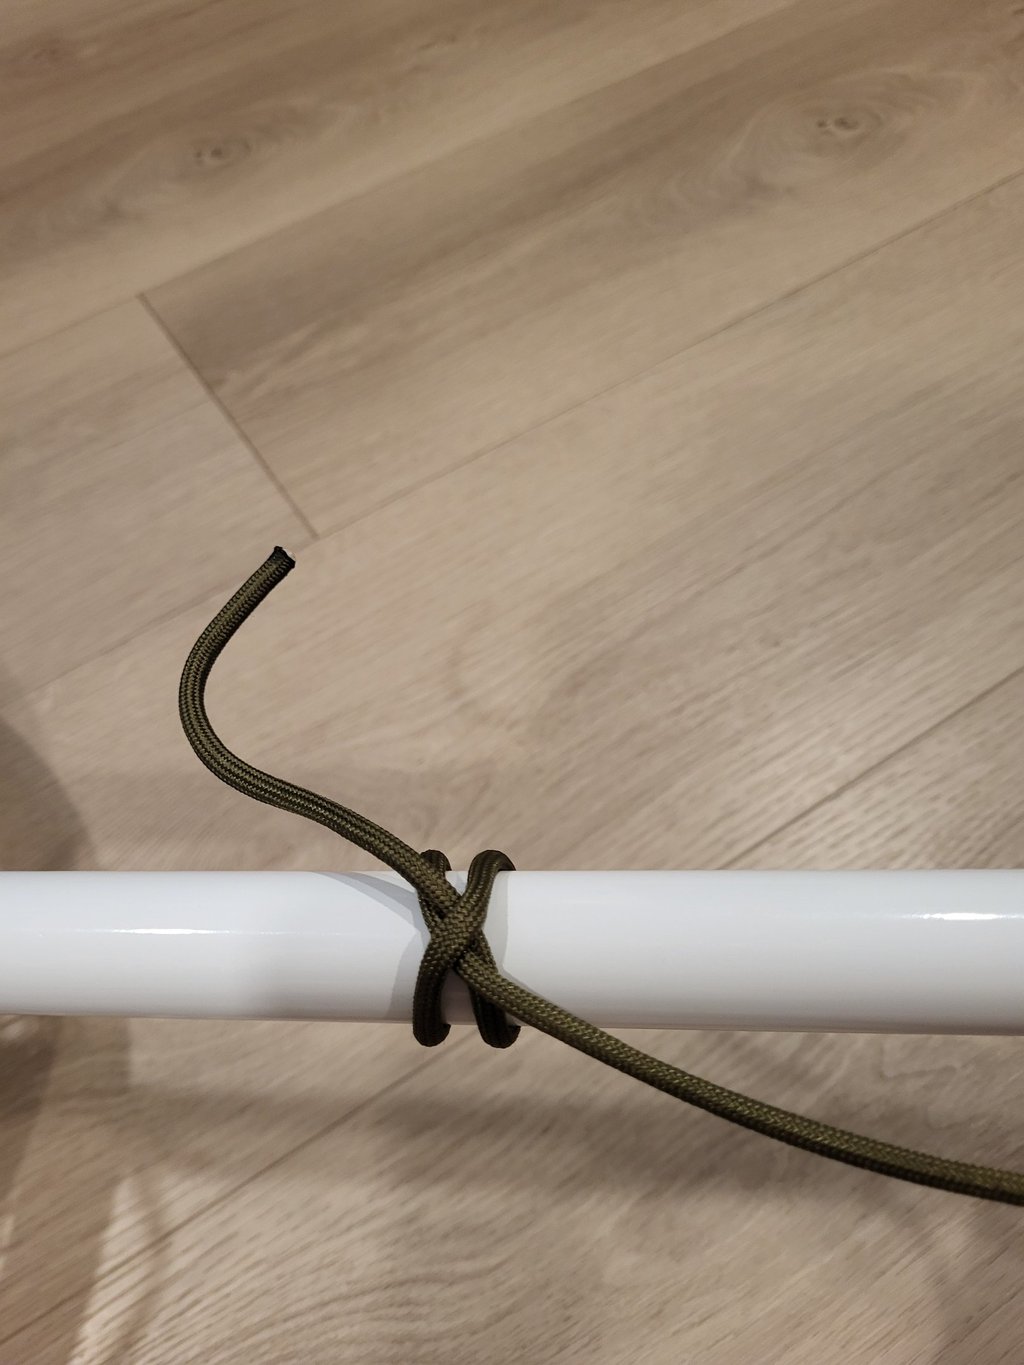
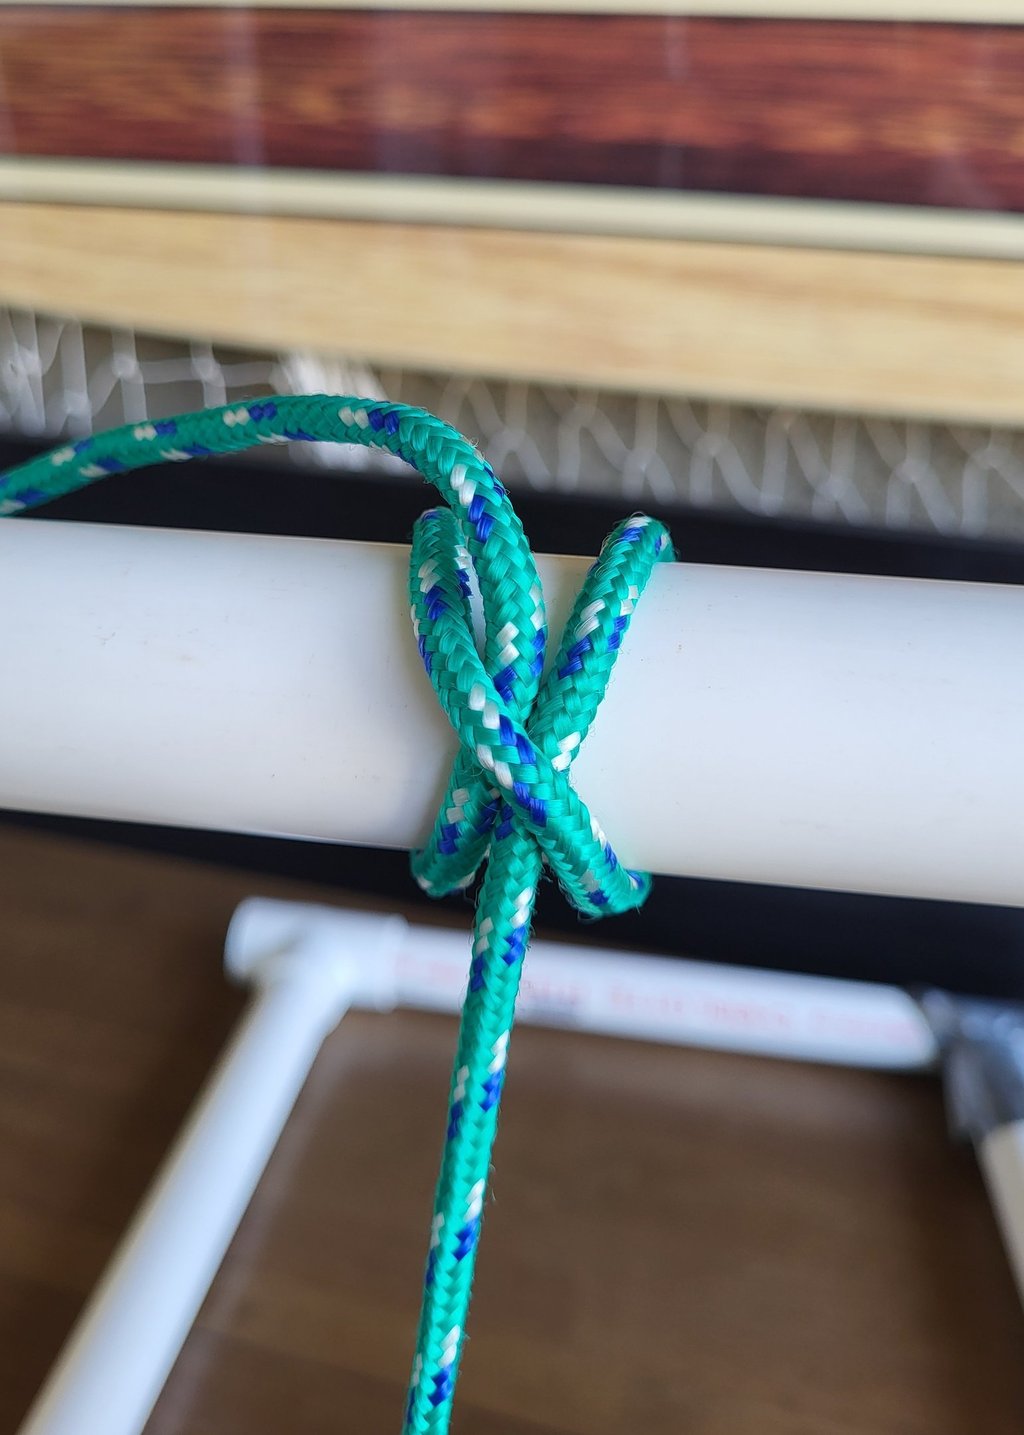
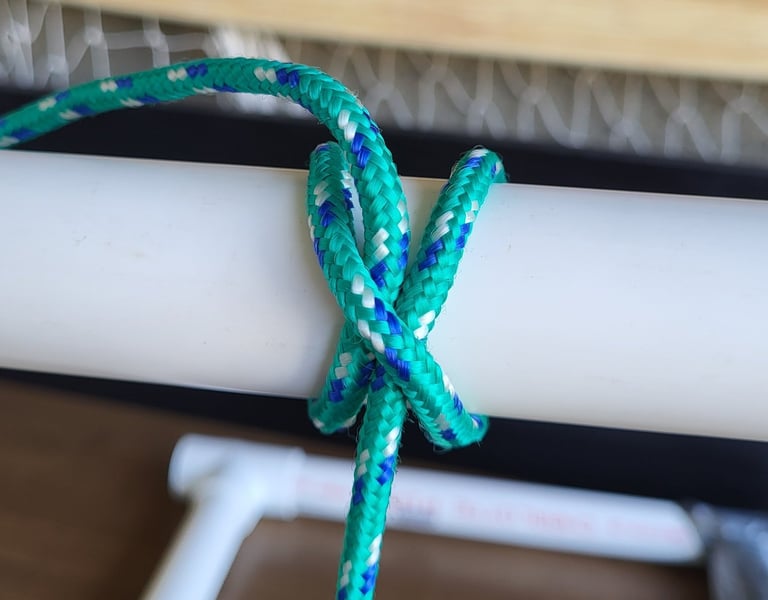
How to Tie (Open-End Method):
This method works when you want to form and place a clove hitch over the end of a wire or pole.
Hold the rope with both hands.
With each hand, roll a separate loop in the same direction, either clockwise or counter clockwise. If you roll them in opposite directions, you make a Cow Hitch.
Turn the two loops so they are side-by-side
Slide these two loops over the end of the pipe or wire.
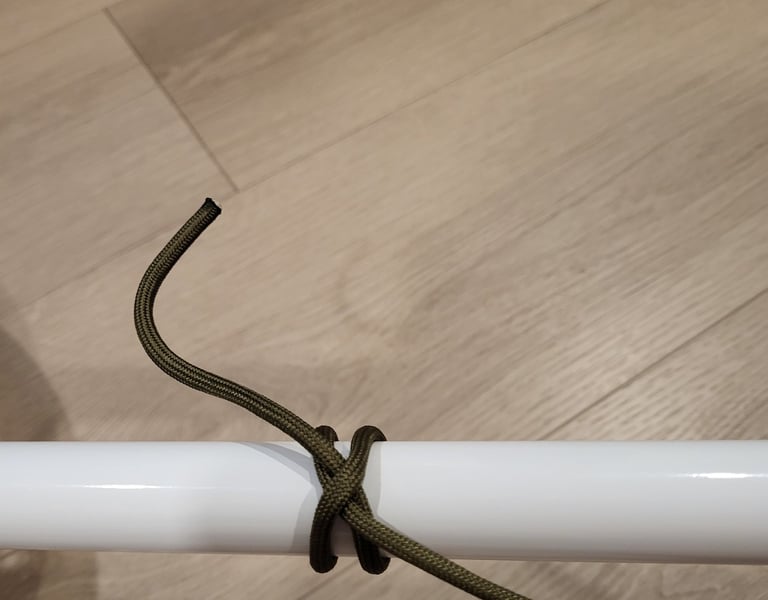
Notice the structure of the knot. If you are trying to hold longitudinal force, then the working line should exit from the side of the Clove Hitch that's on the opposite side of the hitch. If you exit the hitch on the same side, then your knot becomes two Half Hitches. Clove hitches grip better than two Half Hitches due to the opposing forces of the two hitches.
Electrician’s Pro Tip: In high-voltage wire pulling, never rely on a Clove Hitch alone for a heavy wire pull. It will slip and unroll or "walk" under a heavy tension, causing an eventual failure. It can function as an anchor knot before a series of half-hitches but won't hold a serious load on it's own. Consider a more aggressive friction hitch if the load is significant.
Field Applications for Electricians
While the Clove Hitch is easy to tie, it has its functional limitations. Think of it as a "utility player" on the job site. Here is how to max it out and put it to work:
1. Managing Rope Slack (The Handrail Trick)
When you’re working on a multi-tier platform or a scissor lift, dead-heading your pull rope is a massive time-saver. Instead of letting 50 feet of rope drop to the floor—only to have to haul it back up later—tie a quick Clove Hitch to a nearby handrail or 2-inch rigid conduit. This keeps the slack exactly where you need it, off the ground and out of the mud, without the commitment of a permanent knot.
2. The Anchor for Wire Pulling Heads
When prepping a heavy pull, the Clove Hitch serves as the "foundation stone."
The Setup: Start with a Clove Hitch around the head of your wire bundle or the pulling eye.
The Reinforcement: Follow the Clove Hitch immediately with a series of Half Hitches (often called a "half-hitch wrap").
The Result: The Clove Hitch bites down to start the tension, while the subsequent half-hitches distribute the frictional force across the length of the pull, preventing the rope from "walking" off the head under high-torque maneuvers.
3. A Building Block for Advanced Hitches
Think of the Clove Hitch as "Knot DNA." It is the structural starting point for several more aggressive hitches used in the trade:
Constrictor Hitch: By adding one extra tuck, you transform a Clove Hitch into a Constrictor—a knot that bites so hard it often has to be cut off. Perfect for semi-permanent bundles.
Taut-Line Hitch and Jam Hitch: These adjustable sliding hitches are essentially a Clove Hitch plus an extra turn, wrapped around the standing part of the rope, allowing you to tension a line (like a temporary string line for light fixtures) and have it hold its position.
A Foundation of Industrial Rigging
The Clove Hitch is the "starting line" for industrial electrical rigging. While it isn't a terminating knot for heavy tension, its primary value lies in its speed and its role as the essential first step for more advanced hitches. In a high-stakes wire pull, mastering the Clove Hitch is about more than just making a loop—it's about setting the foundation for a safe, successful pull.
Technical Characteristics
Binding Action: The knot relies on constant tension from both ends to remain secure.
Opposite Exit: Unlike its close cousin, the Cow Hitch, the ends of a Clove Hitch exit the twists on opposite sides, creating a balanced bind around the object.
Industrial Utility: Best used for temporary stays or as the foundation for a series of half-hitches when securing a long pull.
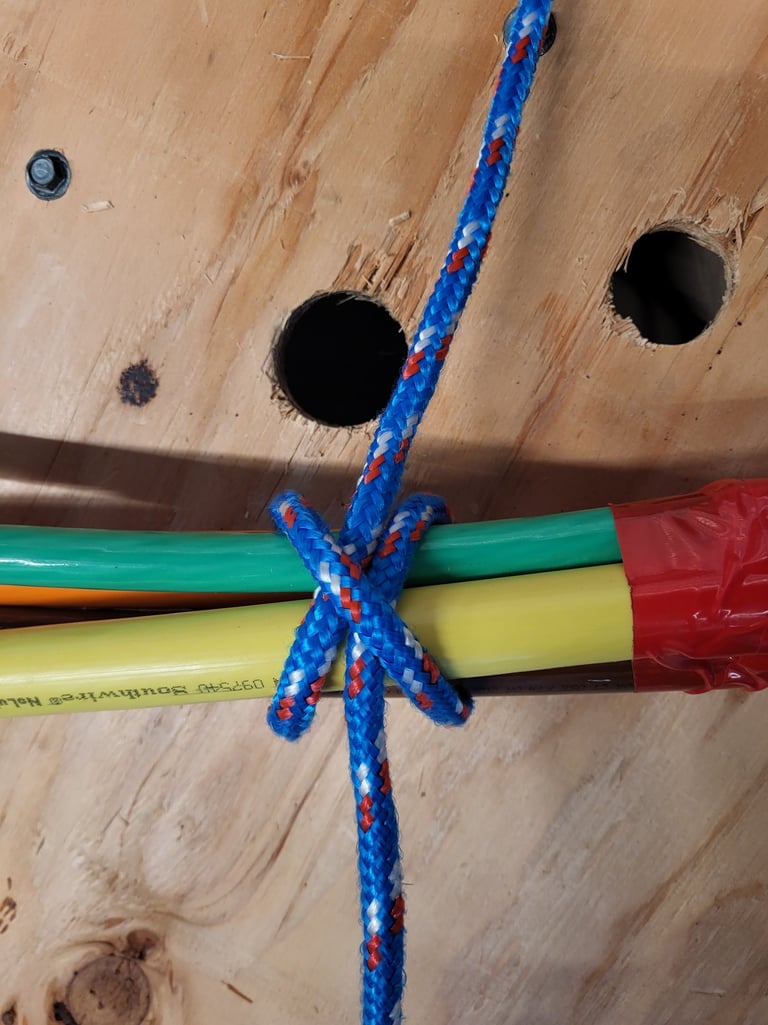
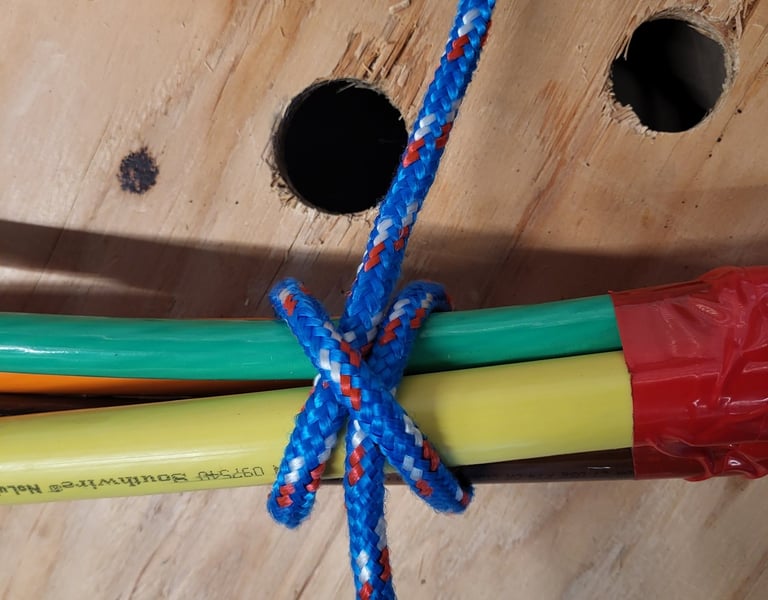
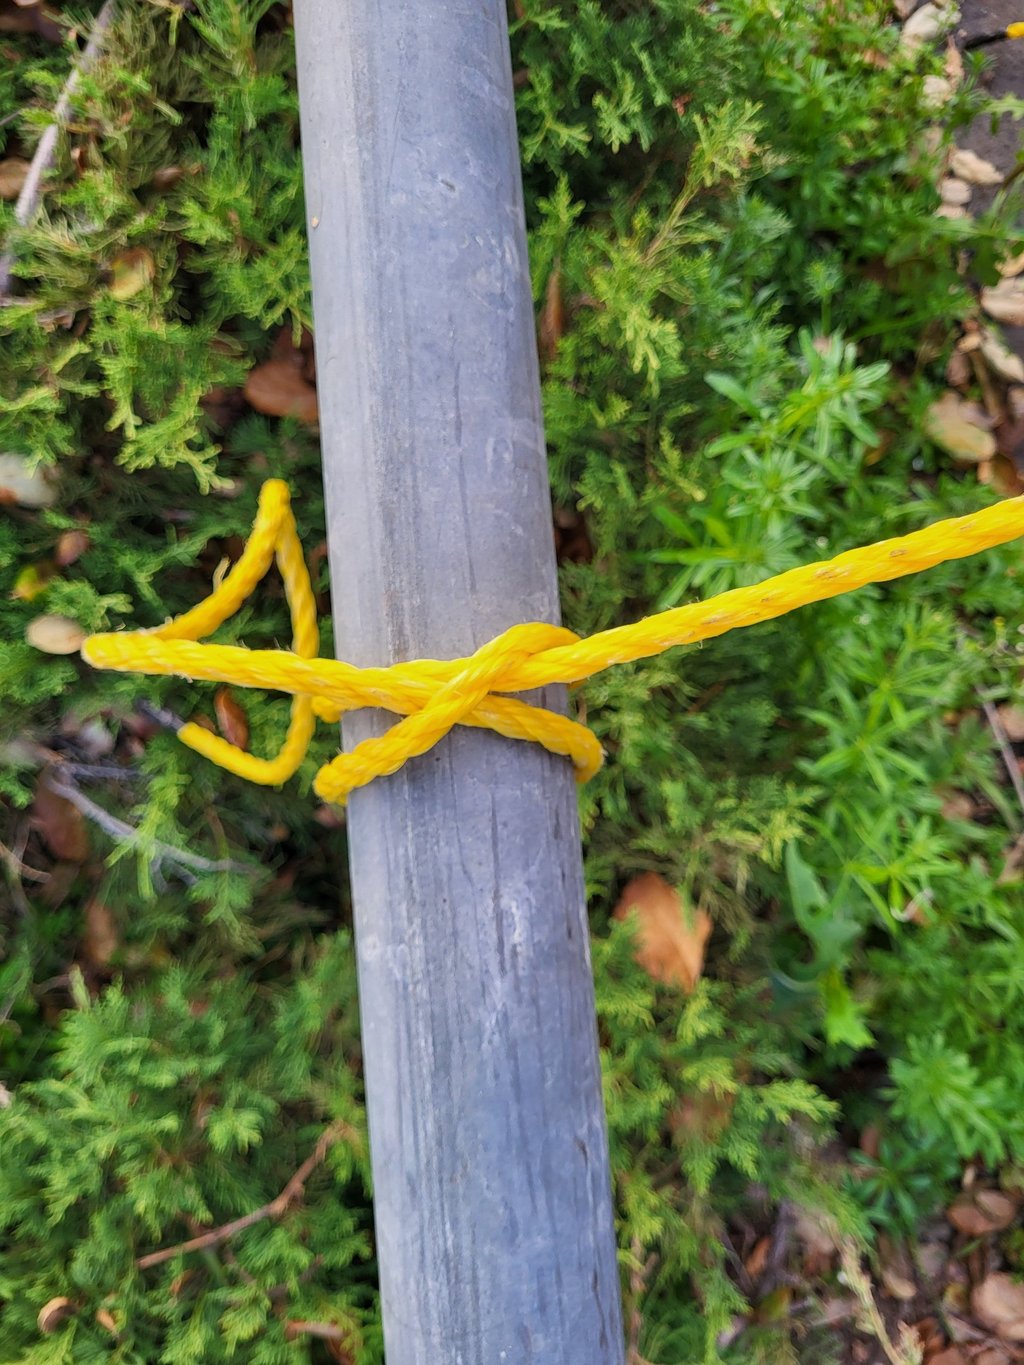
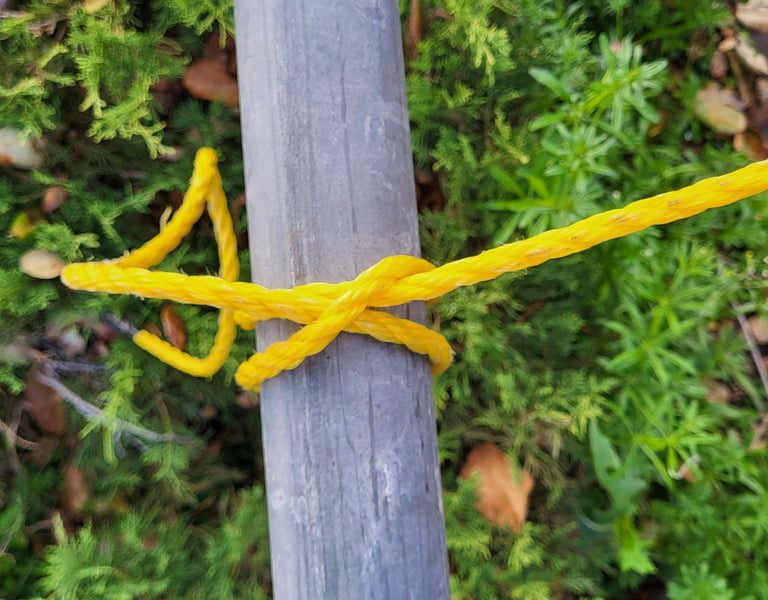
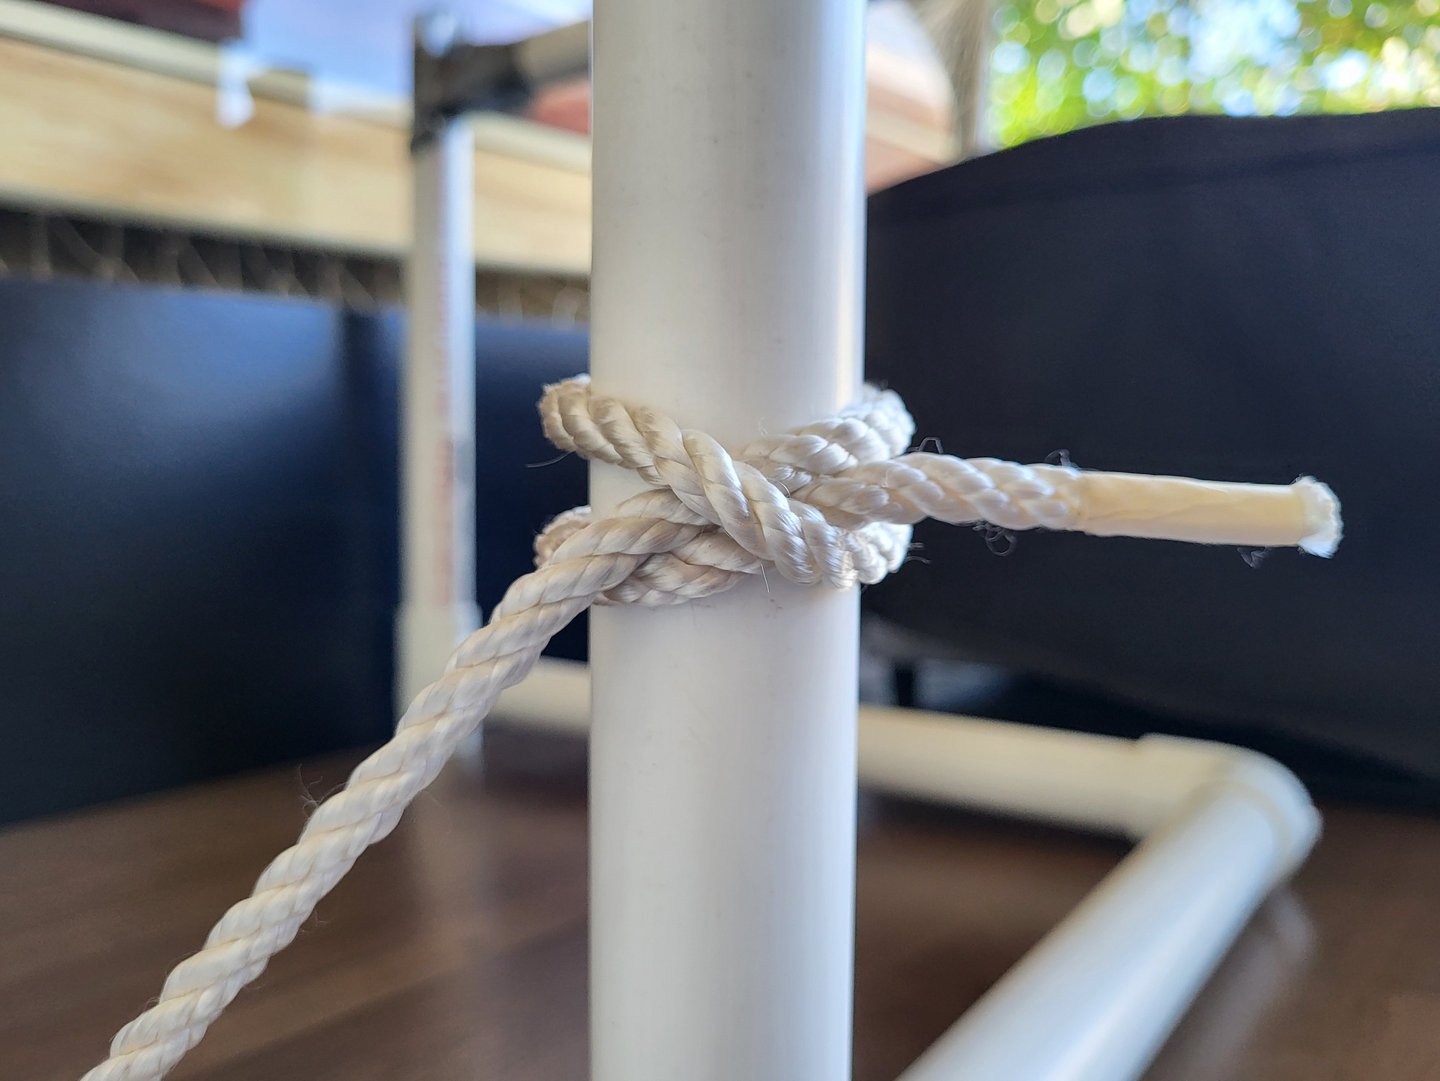
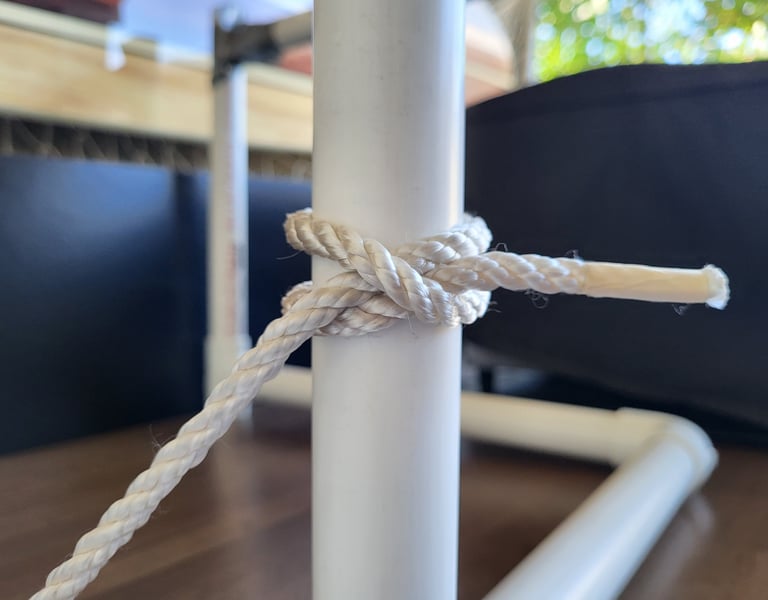
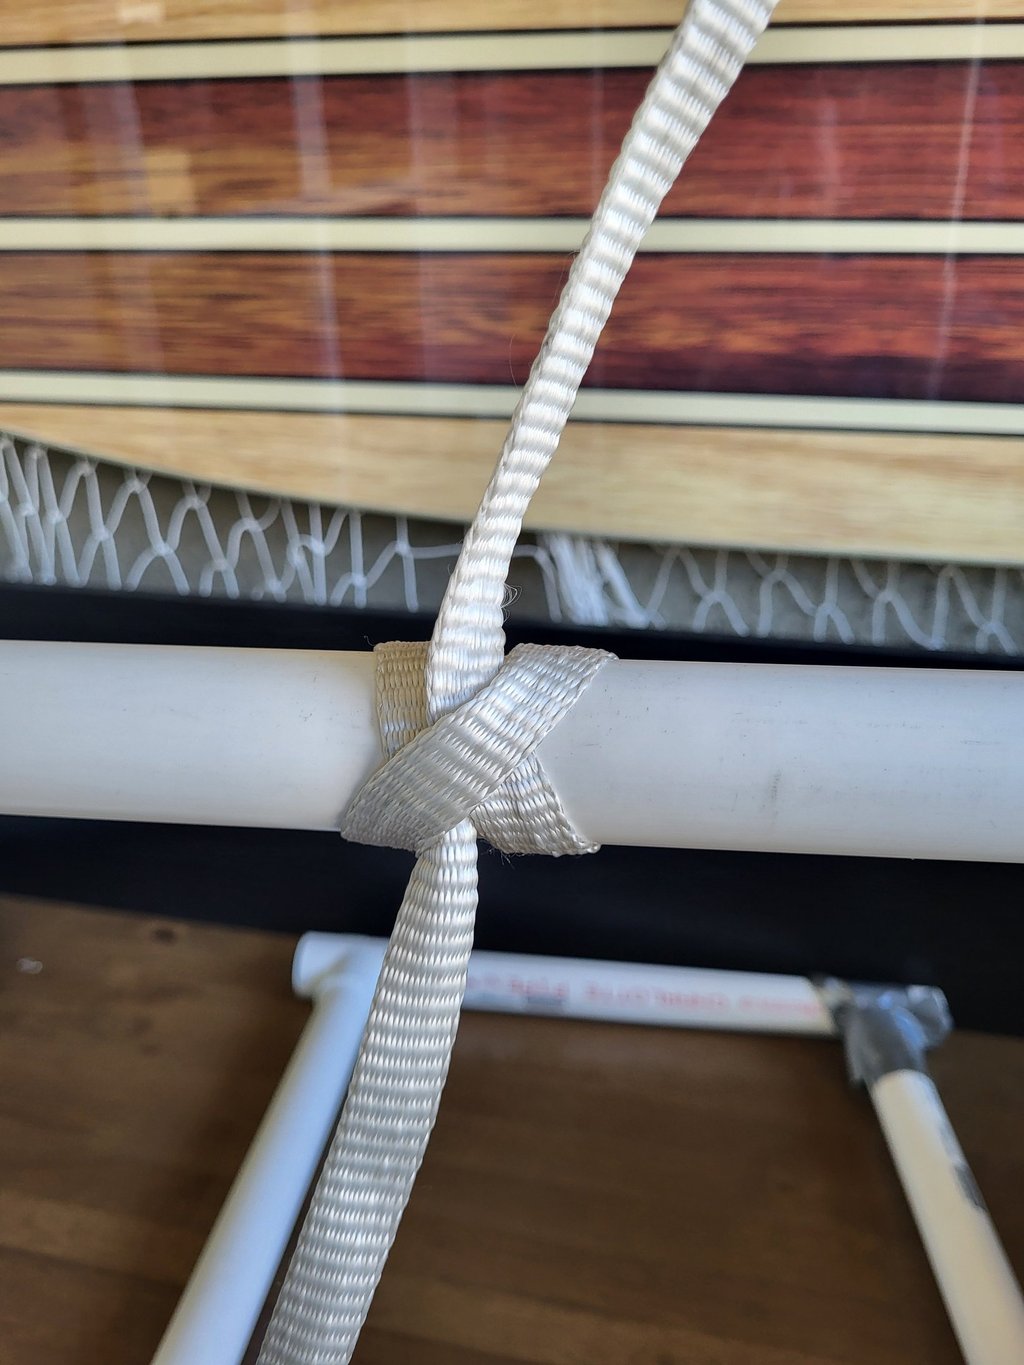
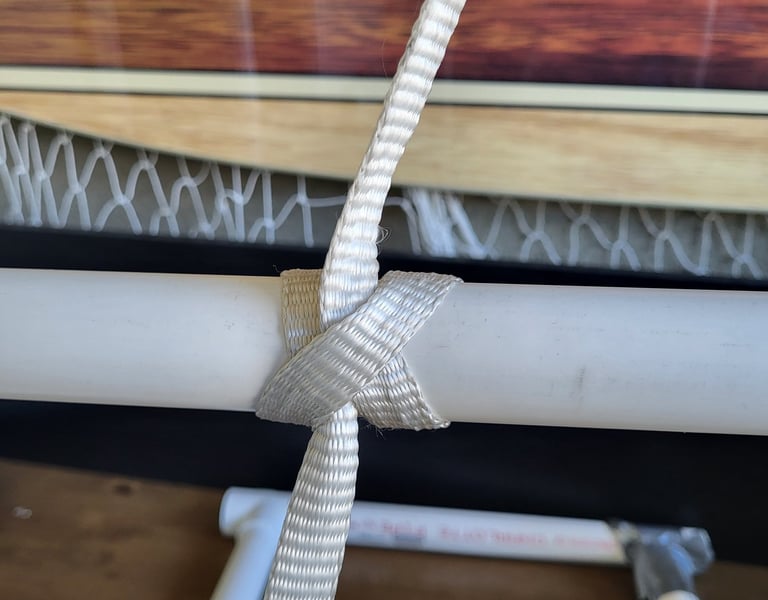
How to Tie (Industrial Threading Method):
This is a way to tie a Clove Hitch around a continuous piece of pipe or wire, without an open end.
Create a half hitch around the conduit.
Cross the lead over the first wrap, forming the signature "X" pattern.
Loop another half hitch in the same direction as the first (If you wrapped over, the second one goes over as well).
Dress the knot so the two parallel wraps are tight against each other with the lead and tail exiting between them.
Again, pay attention to your direction for tying purposes.For perpendicular loads the direction is less critical, but for parallel forces, the direction of your wraps determines the bite. If your force is pulling from the left, your first hitch will be on the right and the second on the left. This lets the two hitches butt up against each other, making a stronger bite.
Ready for a More Secure Bind?
The Clove Hitch is great for utility, but it has a slipping point on smooth EMT or heavy 600 kcmil wire pulls. When you need a knot that won't "walk" or unroll under extreme tension, you need the gold standard.
Check out the Schwäbisch Hitch for the superior bite and reliability that journeymen trust when the load is on the line.
Safety Disclaimer: ⚠️ Material Handling Only
The knots and techniques demonstrated on this site are intended strictly for material handling, wire pulling, and equipment securement. > Never use these hitches and knots for life safety, fall protection, or overhead lifting of loads where a failure could result in injury or death. Always use OSHA-compliant, load-rated hardware (harnesses, shackles, and slings) for critical lifts. Your safety team is there for a reason—consult them for high-risk tasks. Master the craft, stay out of pinch points, respect the load, and live to tie knots another day.
Questions or tips? Reach out anytime. I would love to hear about new knots and techniques.
Check out my YouTube channel for knot tying, rigging tips, and other electrician related tutorials.
© 2025. All rights reserved.
I made this website by myself with Hostinger Website Builder. Try it and start building your idea, today.