Figure 8 Loop Guide: Heavy-Duty Rigging for Electricians
The Figure 8 Loop (Tied as either an endloop or mid-line with a Figure 8 on a Bight) is a cornerstone of rescue, rope safety and rigging, prized in search and rescue and by climbers for its exceptional strength and reliability under heavy loads. In construction it is still relevant, although less popular than the ubiquitous Bowline Knot. Unlike simpler loops that can slip when subjected to high-tension wire pulls or hoisting maneuvers, the Figure 8 remains stable, even after bearing significant weight. Its symmetrical structure allows for quick visual inspection—a vital feature for maintaining safety standards on a busy job site. Whether you are securing equipment or creating a dependable anchor point, mastering this knot gives you another excellent tool to add to your knot arsenal. It has an unparalleled breaking strength and stands up to the rigors of industrial use.
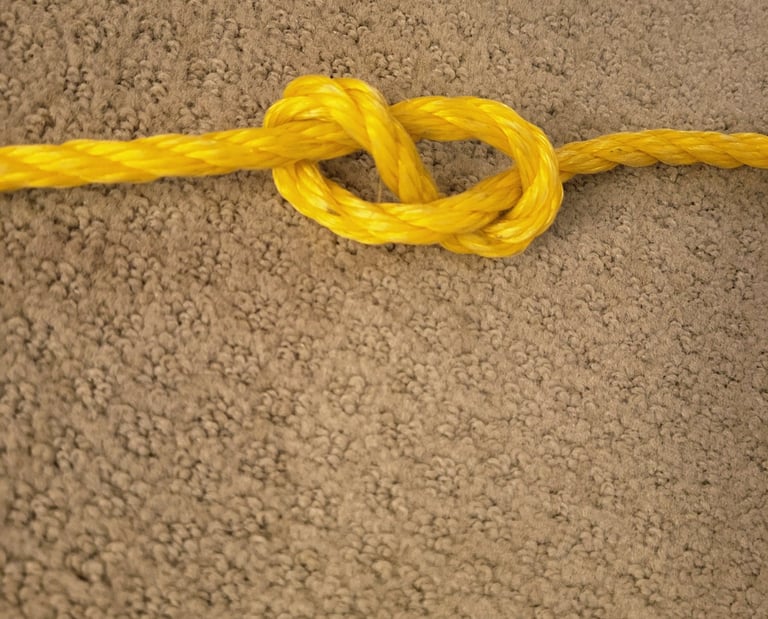
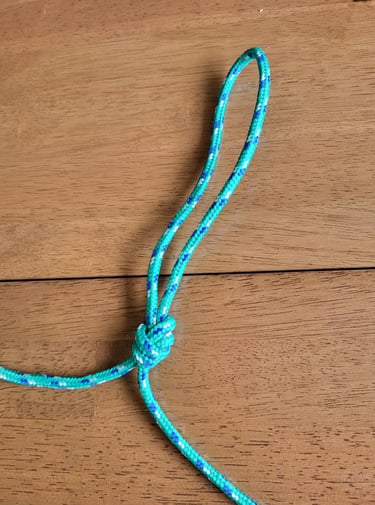
Mid-line Figure 8 Loops
This version of a Figure 8 doesn't get used in construction often, but is worth knowing for the occasion that you need the ultimate in strength from a mid-line loop.
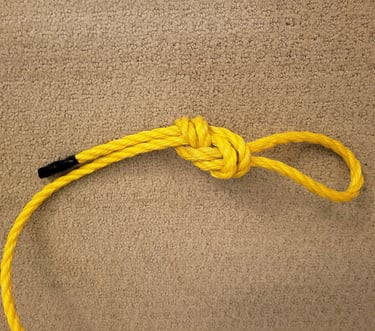
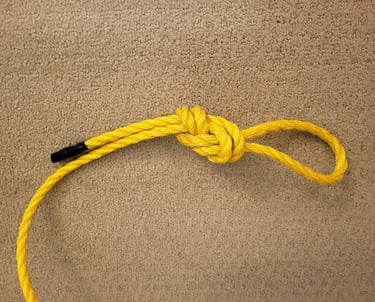
How to Tie a Figure 8 End Loop - Follow-Through Method
The goal of this knot is to "retrace" an initial Figure-8 to create a secure loop at the end of a rope or around an object.
Tie the Initial Figure-8: Tie a standard Figure-8 knot (the "stopper") about 2–3 feet from the end of the rope. Leave a long tag end.
Pass the Tag End: Take the tag end and pass it around your anchor point or back to the knot if making a empty loop.
Begin the Retrace: Feed the tag end back into the Figure-8 knot exactly where the rope exits the knot toward the anchor. You are now going to follow the path of the original knot in reverse.
Follow the Path: Thread the tag end alongside the original rope, keeping it parallel. Follow every turn: go under, over, and around the existing curves of the first Figure-8.
Exit the Knot: The tag end should emerge from the top of the knot, parallel to the standing line.
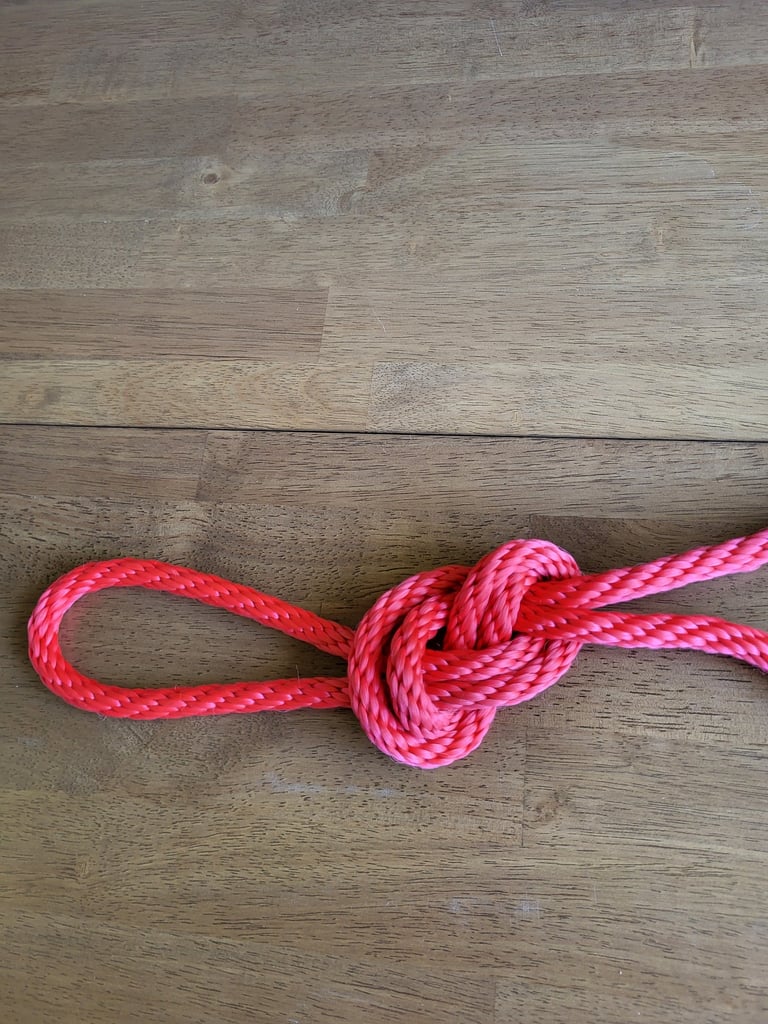
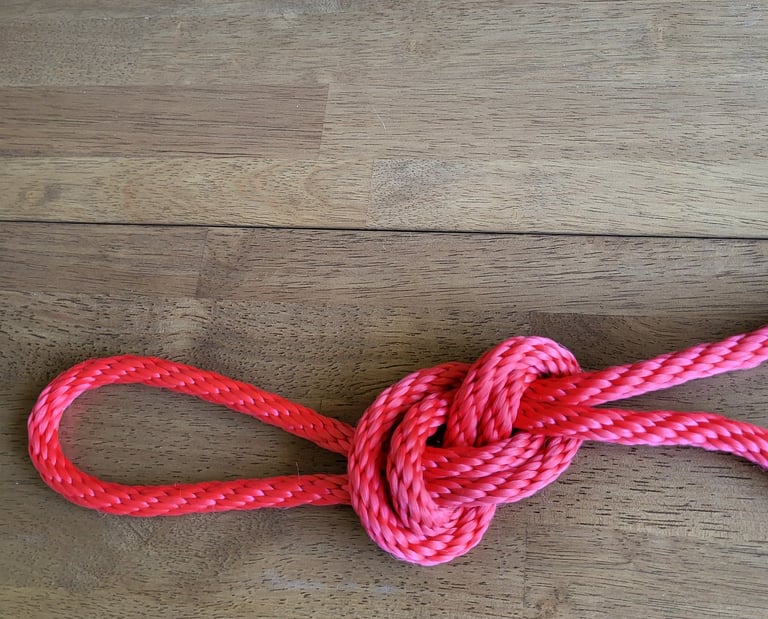
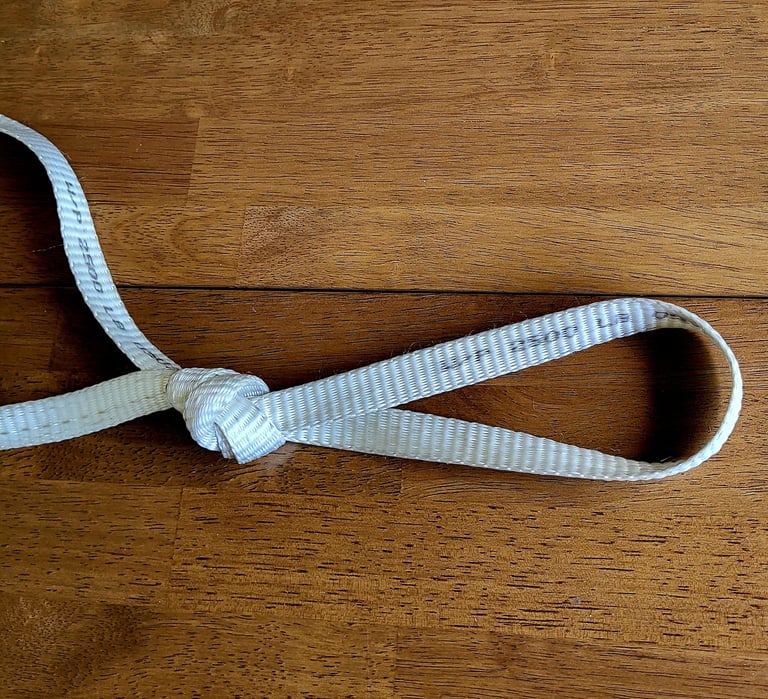
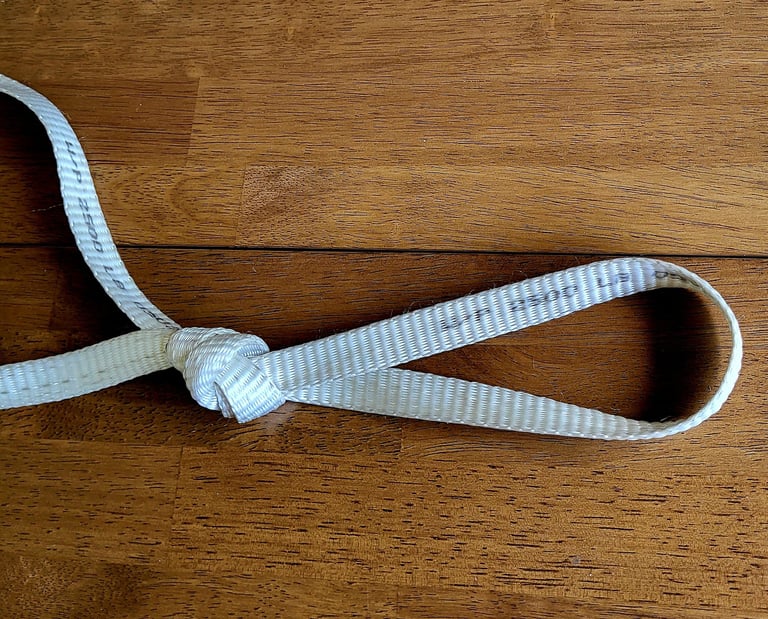
Dress and Set: Pull all four strands (the two loop legs, the standing line, and the tag end) individually to ensure the knot is seated tightly. A well-dressed knot will show two distinct parallel "8" shapes stacked together without any crossing or twisting.
The Origins of the Figure-8 Loop
While the basic Figure 8 knot has been a staple in maritime history for centuries as a simple stopper knot, the Figure 8 Follow-Through rose to prominence with the advent of modern synthetic ropes. In the mid-20th century, as rock climbing and industrial rigging transitioned from natural fibers to nylon, traditional knots like the Bowline or Overhand Loop were found to be less secure under the slicker surface of synthetic materials.
Why Use the Figure-8 in Construction?
In high-tension electrical pulls and heavy rigging, the Figure-8 is one of the few good alternatives to the Bowline. While it takes slightly longer to tie, it offers mechanical advantages that are critical when using synthetic pulling ropes. It is significantly more difficult to untie after a heavy load and only marginally stronger than a Bowline, so it remains relatively uncommon in construction use.
Maximum Strength: Retains 75% to 80% of the rope's original breaking strength.
Zero Slip: The interwoven geometry creates internal friction that prevents "jumping" on slick polyester ropes.
Visual Safety: It is the easiest knot for a foreman to inspect from the ground—if it doesn’t look like a clean "8," it’s wrong.
For those seeking a versatile alternative to the Figure 8 Loop, the Bowline Knot remains an essential skill for any rigger or tradesperson. Known as the "King of Knots" for its simplicity and the fact that it becomes easier to untie after being under load, it is a perfect companion to the more heavy-duty loops used in industrial settings. You can find a complete guide on how to master this classic technique by visiting the Bowline Knot page.
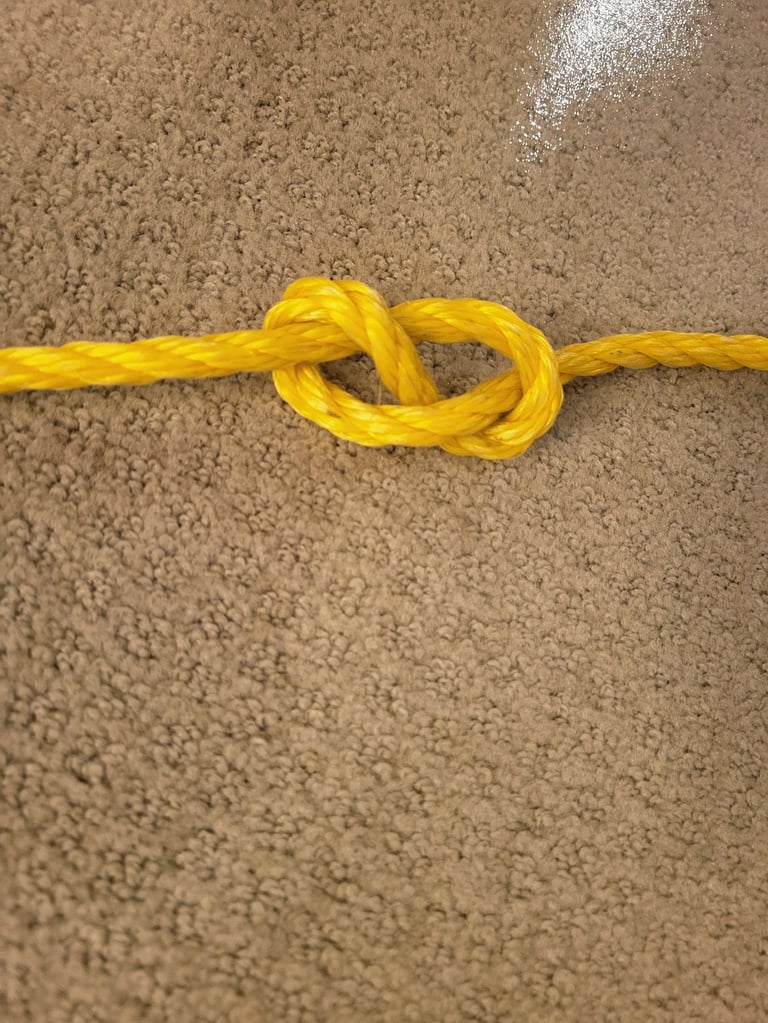
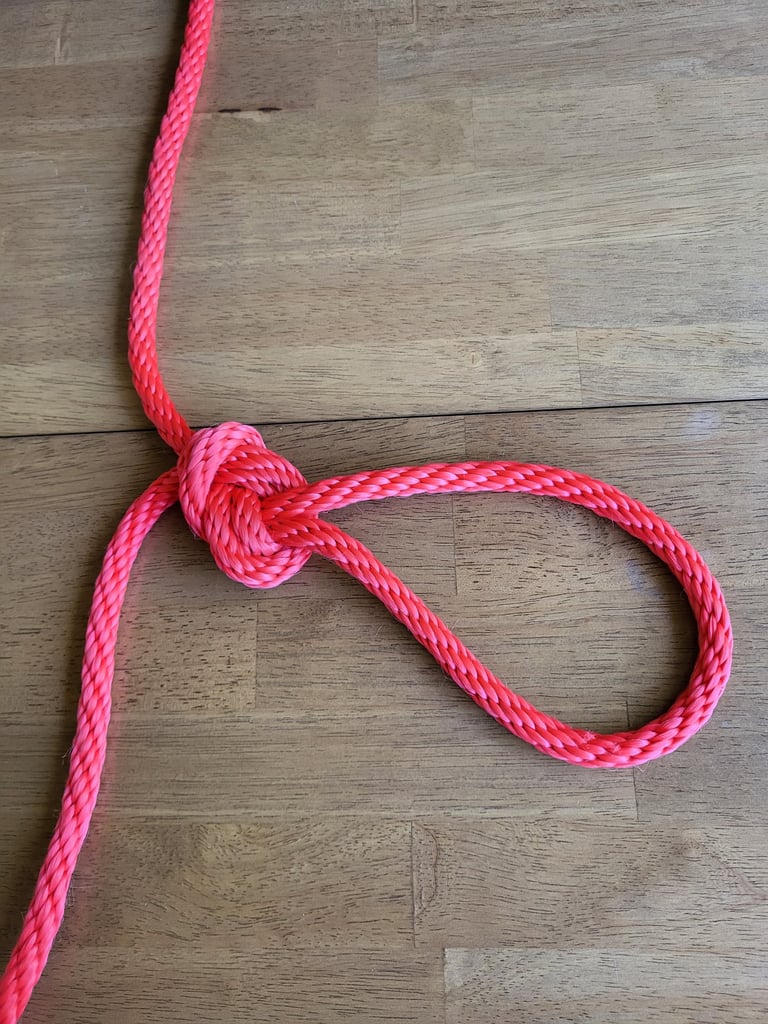
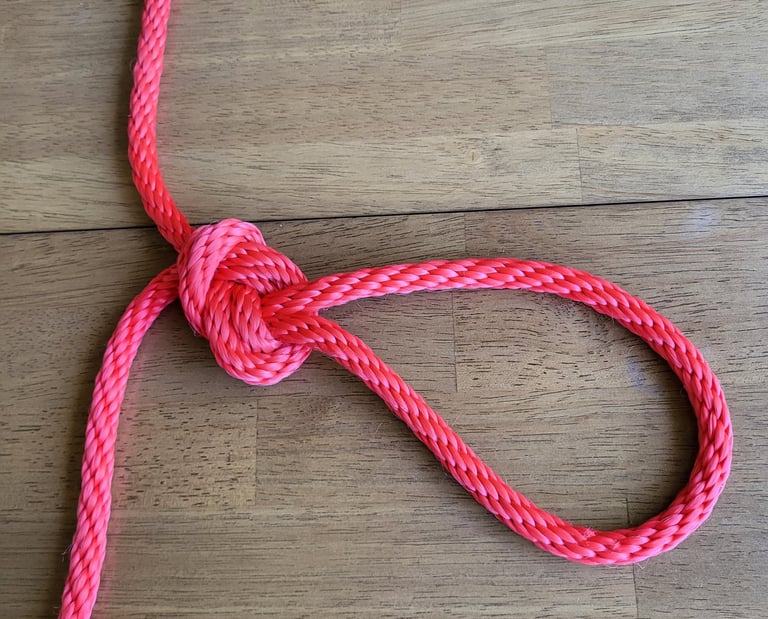
How to Tie a Figure-8 On a Bight
Form a long bight in the rope.
Treat this bight as a single strand and form a loop with it.
Wrap the end of the bight around the standing part.
Pass the end of the bight through the loop to complete the figure-8 shape.
Dress and set the knot firmly.
Visual Inspection Tips: A well-tied Figure 8 Loop is perfectly symmetrical. You should be able to visually trace the "8 pattern" on each individual strand. If it looks "jumbled," untie it and reset to ensure maximum load strength.
Safety Disclaimer: ⚠️ Material Handling Only
The knots and techniques demonstrated on this site are intended strictly for material handling, wire pulling, and equipment securement. > Never use these hitches and knots for life safety, fall protection, or overhead lifting of loads where a failure could result in injury or death. Always use OSHA-compliant, load-rated hardware (harnesses, shackles, and slings) for critical lifts. Your safety team is there for a reason—consult them for high-risk tasks. Master the craft, stay out of pinch points, respect the load, and live to tie knots another day.
Questions or tips? Reach out anytime. I would love to hear about new knots and techniques.
Check out my YouTube channel for knot tying, rigging tips, and other electrician related tutorials.
© 2025. All rights reserved.
I made this website by myself with Hostinger Website Builder. Try it and start building your idea, today.