Bowline Knot: The King of Construction

The Bowline knot—sometimes phonetically searched as the Bo-line or Bowlin—is quite possibly the most essential loop in an electrician’s arsenal. With a history stretching back over 500 years to the age of sail, it was originally used to secure the weather edge of a square sail. Today, its reputation has moved from the high seas to the high-rise. Its legendary status comes from one simple fact: it will not slip under load, yet it remains easy to untie even after pulling thousands of pounds of tension. Whether you are hoisting a motor or anchoring a pulling head, the Bowline is the industry standard for a secure, fixed loop.
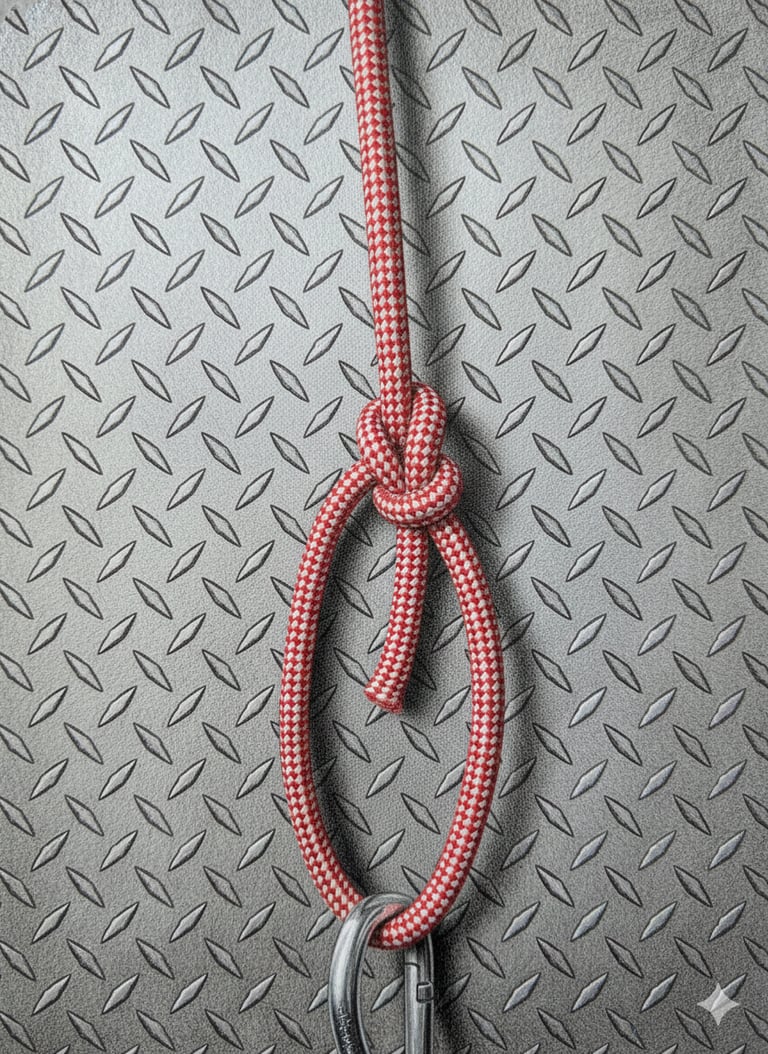

How to Tie:
There are many different methods to tie a bowline, but I will focus on 3 of the most practical techniques for construction situations.
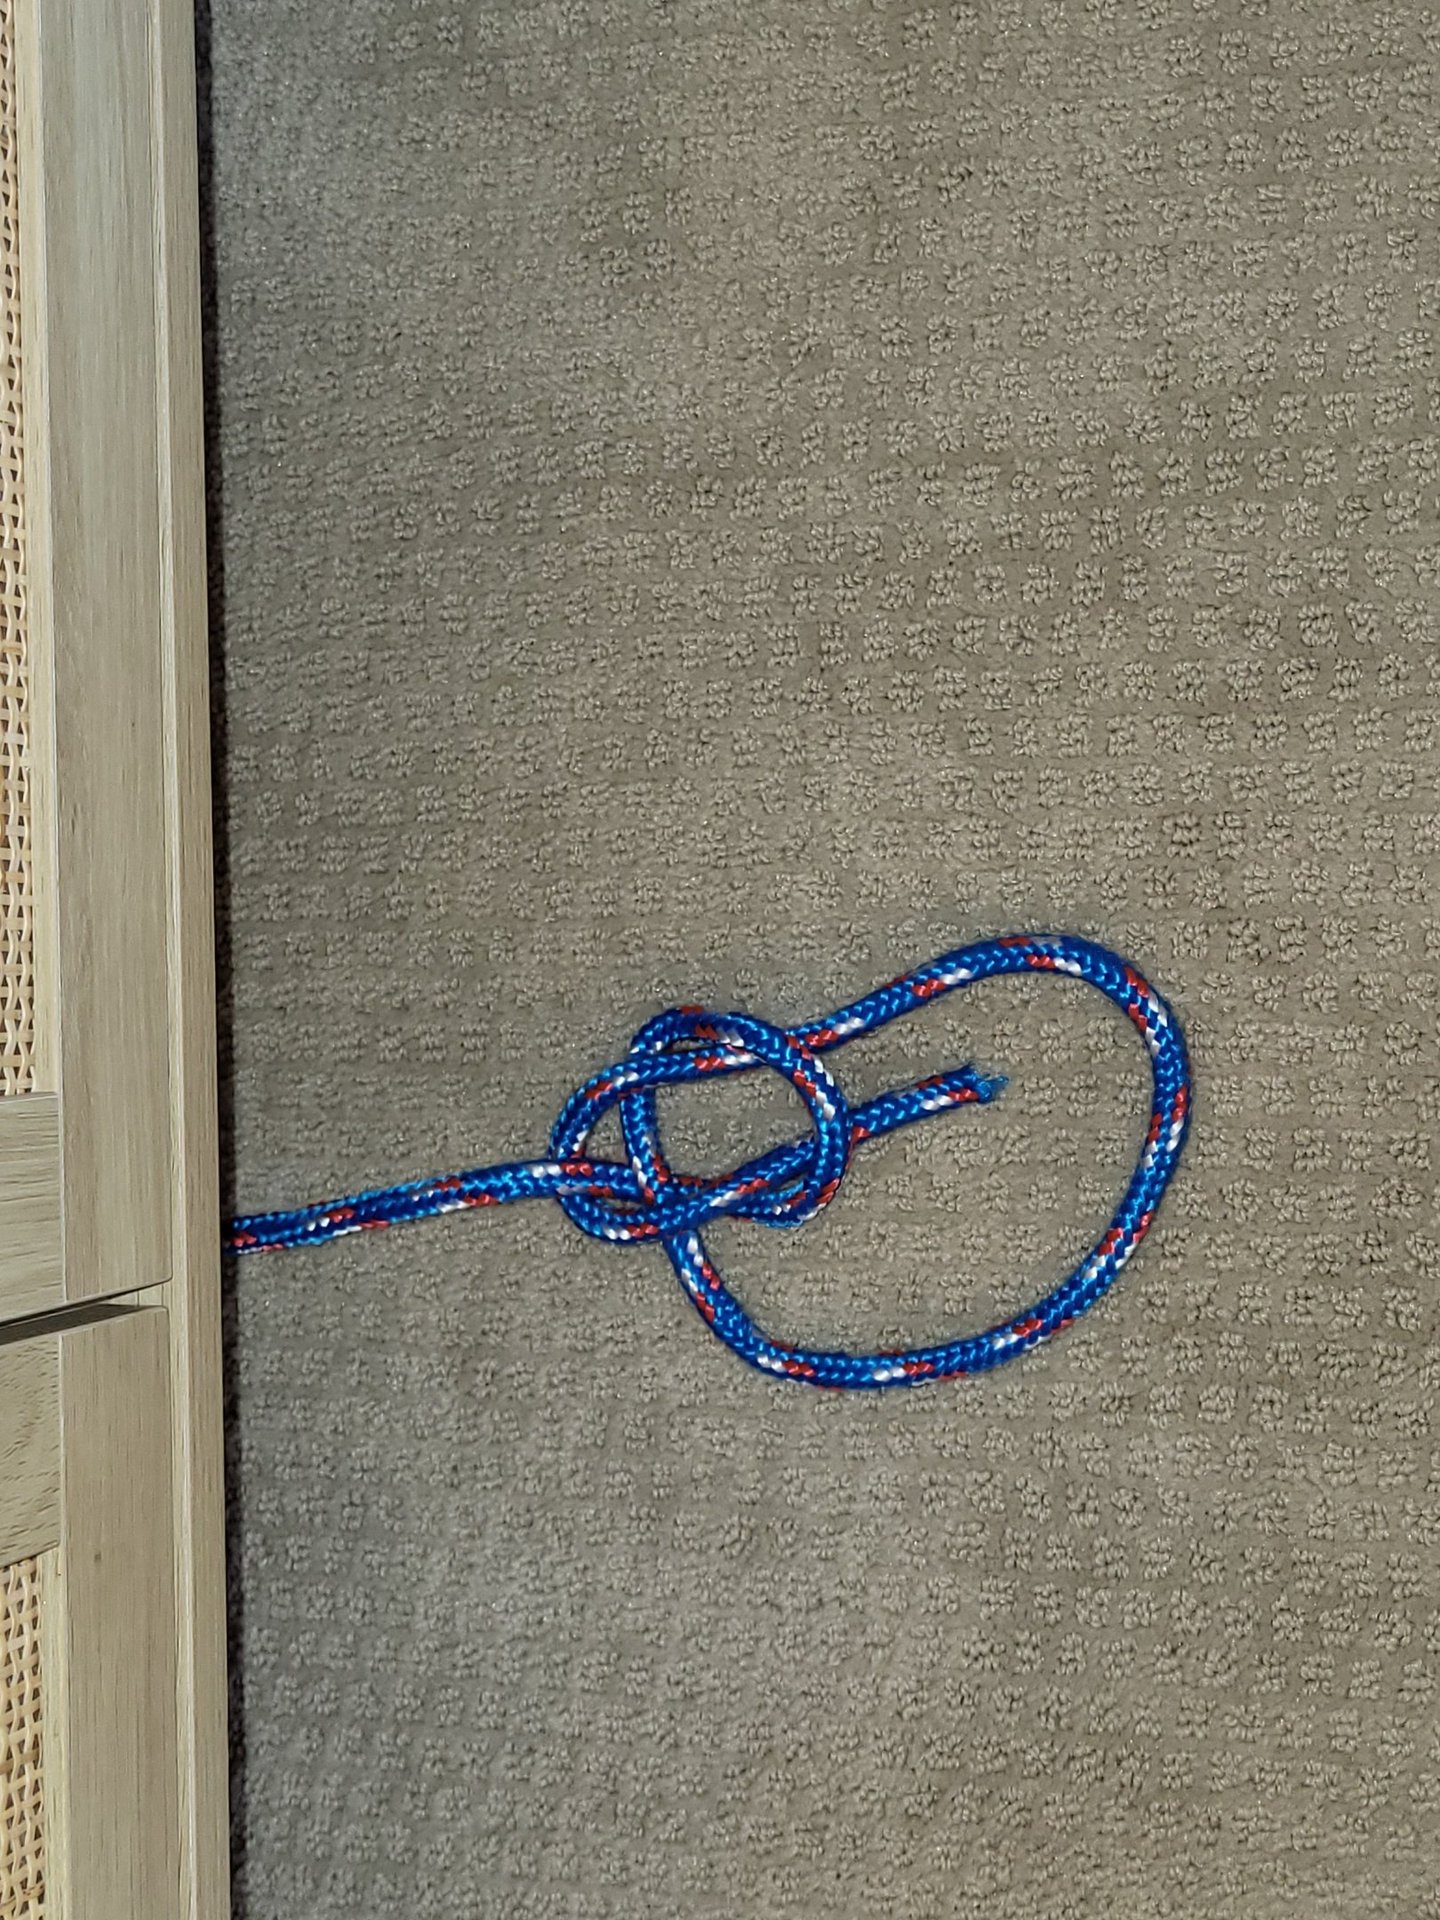
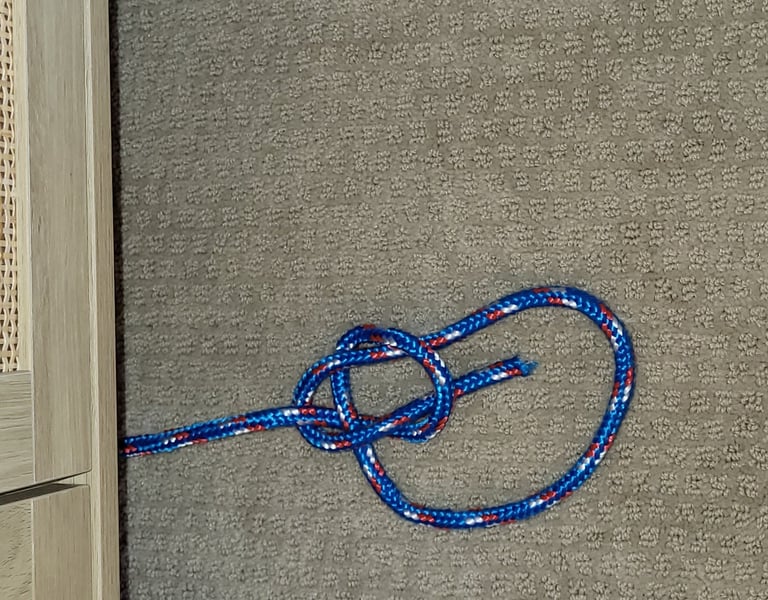
#1 The Standard Loop and Thread. (Rabbit Technique)
Create the Loop: Roll a loop forward so it bulges toward the same side as your tag end.
The "Rabbit" Move: Pull the tag end up through the loop from behind.
The Wrap: Thread the tag end around the standing line.
Finish: Pass the tag end back down through the original loop.
Set the Knot: Tighten by pulling the tag end and the standing line simultaneously.
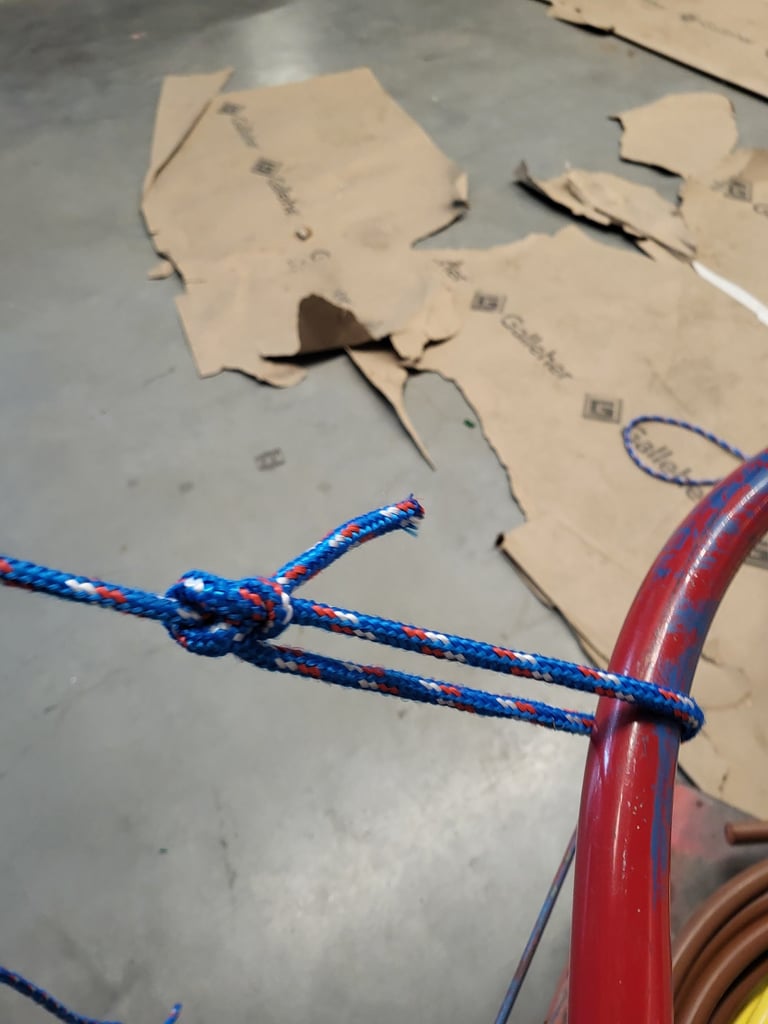
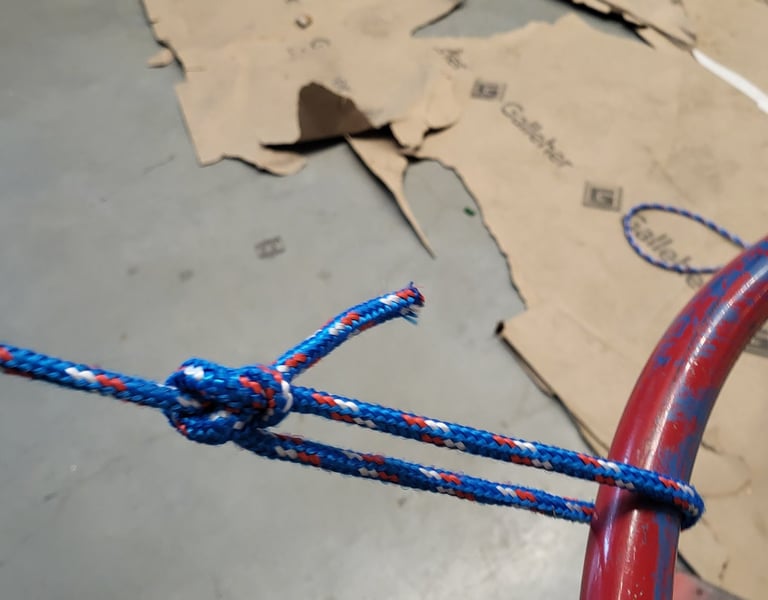
#2. Snap method.
Form a Marlinspike Hitch: Roll a loop forward and pull a bight (a fold of rope) from the standing line through it.
Thread the Tag: Pass your tag end through the protruding bight, ensuring you enter from the same side as the loop’s bulge.
The Snap: Pull the standing line and the tag end firmly.
Final Result: The bight will "snap" or slip through the loop, automatically forming a secure Bowline.
#3 The Modified Threading Method (The "Lineman's Twist")
The Cross: Lay the tag end over the standing line.
The Grip: Place your index finger on the crossing point and your thumb under the standing line.
The Twist: Twist your thumb away from you to create a loop and thread the tag end through with your index finger in one fluid motion.
The Catch: Use your index finger to catch the tag end after wrapping it around the standing line.
Speed Finish: Pull it through and set to complete the fastest version of the Bowline.
Common Mistakes to Avoid:
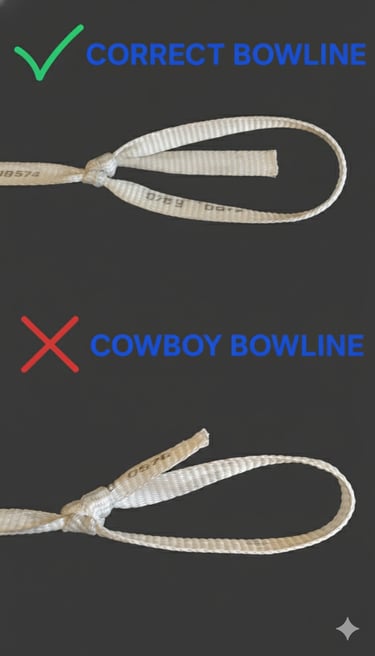
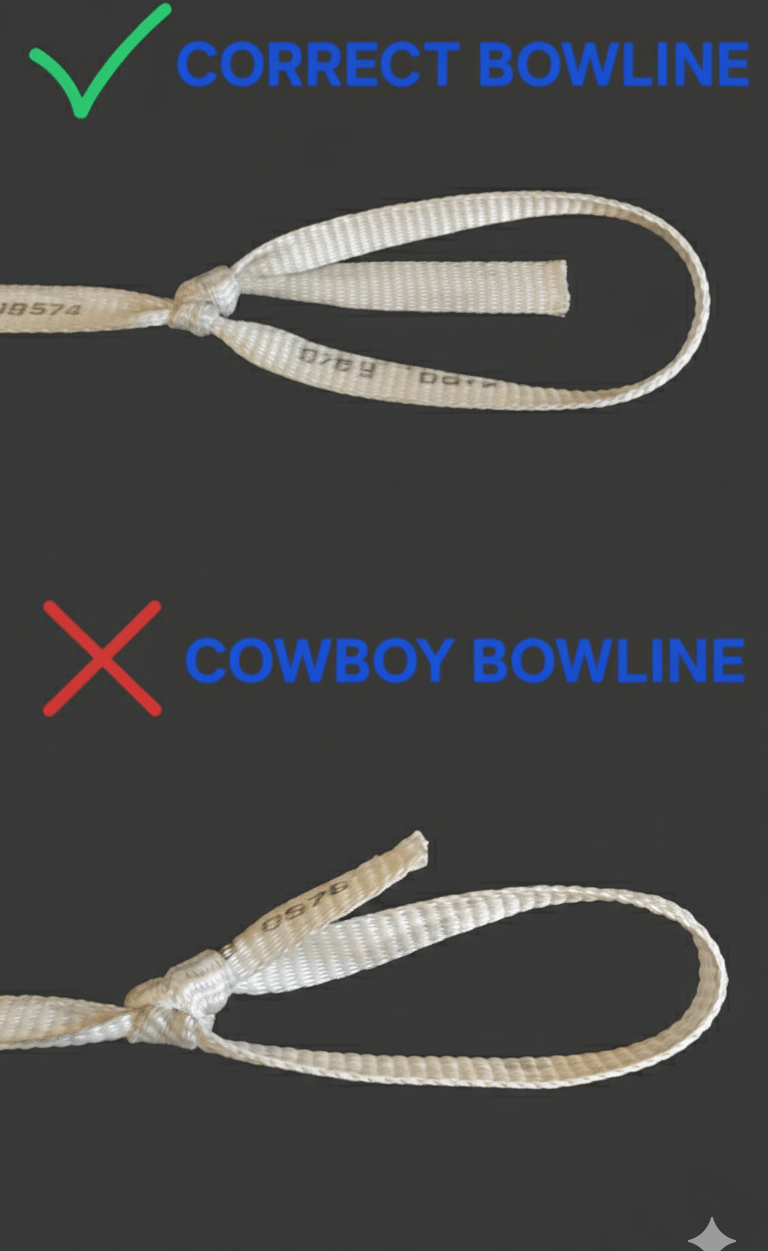
The Cowboy Bowline: Watch your tag end—if it exits on the outside of the loop, it’s a Cowboy Bowline. While still a knot, it's not the standard version. To fix this, reverse the direction you wrap the standing line.
Improper Seating: Especially with the Snap Method, ensure the knot "turns over" and seats firmly. You can visually verify it by checking that the last elbow of the knot is the tag end wrap.
Short Tails: Don't be stingy with the rope. Leave at least 3 to 4 inches of extra tag end to prevent the knot from pulling through under high tension.
Putting the Bowline to Work
Mastering the Bowline is more than just a rope trick—it’s about job site efficiency and safety. Whether you are anchoring a pull rope to a piece of strut for a heavy wire pull or tying off a bucket to hoist tools up a multi-level scaffold, this knot provides the peace of mind that your load is secure. Once you’ve perfected the standard version, you can expand your rigging skills with variations like the Running Bowline, which creates a sliding loop perfect for bundling loose conduit or anchoring to a pole, or the Portuguese Bowline, which provides two adjustable loops for better weight distribution. Keep practicing these variations, and you’ll have a reliable solution for every rigging challenge you encounter on the clock.
🏗️ Master Your Rigging Skills
Don't stop at the Bowline. From securing heavy conduit to organizing your truck, having the right knot for the job saves time and prevents accidents.
Check out our Top 10 Essential Knots for Electricians to see the full list of must-have rope techniques for the job site.
Safety Disclaimer: ⚠️ Material Handling Only
The knots and techniques demonstrated on this site are intended strictly for material handling, wire pulling, and equipment securement. > Never use these hitches and knots for life safety, fall protection, or overhead lifting of loads where a failure could result in injury or death. Always use OSHA-compliant, load-rated hardware (harnesses, shackles, and slings) for critical lifts. Your safety team is there for a reason—consult them for high-risk tasks. Master the craft, stay out of pinch points, respect the load, and live to tie knots another day.
Questions or tips? Reach out anytime. I would love to hear about new knots and techniques.
Check out my YouTube channel for knot tying, rigging tips, and other electrician related tutorials.
© 2025. All rights reserved.
I made this website by myself with Hostinger Website Builder. Try it and start building your idea, today.